DOUBLE SURFACE LAPPING POLISHING MACHINE
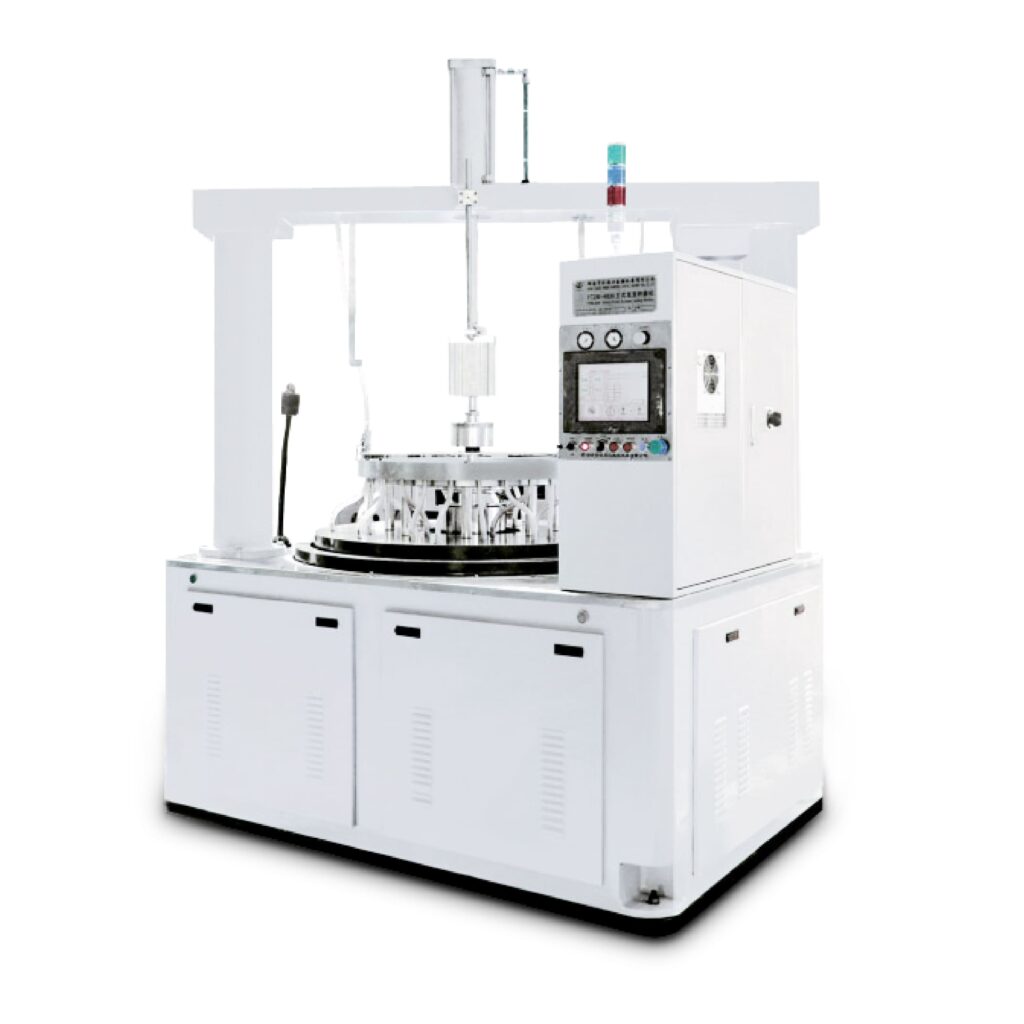
Main Purpose:
This equipment is mainly used for lapping and polishing both sides of the parallel surface of thin metal and hard brittle nonmetal parts, such as silicon, sapphire crystal, ceramic, optical glass, quartz crystal and other semiconductor materials.
TECHNICAL CHARACTERS:
- The machine is according to four planetary gears motion principle.
- This machine adopts the way of the inner gear ring lifting. The cylinder pushes spiral cam to drive the ring gear lift when it ups and downs. It is controlled by a three manual valve device which is installed in the right side. The gear ring can be adjusted.
- Double motor driving. The main motor drives the upper lapping plate, the lower lapping plate and the inner gear ring to rotate by a series of variable speed, And the sunwheel is driven by the auxiliary motor. Both the main motor and the auxiliary motor are frequency conversion. The lower lapping plate, inner ring gear and the sun wheel rotate in the same direction, but the upper lapping plate opposite.
- The machine is equipped with safety lock cylinder, when the upper lapping rises to the up limitation, the inserting plate comes out to prevent it falling down so that ensure the operator and equipment safety.
- PLC control is flexible and reliable.
- It adopts touch screen as man-machine interface device, which displays the alarm and in real time information of machine status, it is very friendly and with large amount of information
SPECIFICATION
| Project | Unit | YH2M13B-9L | YH2M8432C | YH2M8432E | YH2M8436B | YH2M18B | YH2M22B |
|---|---|---|---|---|---|---|---|
| Grinding disc size (outer diameter x inner diameter x thickness) | mm | φ978x φ558×45 | φ1070x φ495×45 | φ1070x φ495×45 | φ1140x φ375×45 | φ1280x φ449×50 | φ1462x φ494×50 |
| Planetary Gear Specifications | DP=12 Z=108 | P=15.875 Z=64 | P=16.842 Z=60 | P=15.875 Z=84 | P=21.053 Z=71 | M=3 Z=184 | |
| Place the number of planetary gears | n | 3≤n≤9 | 3≤n≤7 | 3≤n≤7 | 3≤n≤5 | 3≤n≤5 | 3≤n≤5 |
| Maximum size of workpiece | mm | φ180 (diagonal) | φ280 (diagonal) | φ280 (diagonal) | φ360 (diagonal) | φ420 (diagonal) | φ480 (diagonal) |
| Minimum thickness of workpiece | mm | 0.4 | 0.6 | 0.3 | |||
| Abrasive flatness | mm | 0.006(φ100) | |||||
| Polished flatness | mm | 0.008(φ100) | |||||
| Abrasive surface roughness | μm | Ra0.15 | 0.04 | ||||
| Surface roughness of polished parts | μm | Ra0.05 | |||||
| Dimensions (Approx: LxWxH) | mm | 1650×1300 x2650 | 1510×1450 x2650 | 1800×1500 x2650 | 2200×1750 x2690 | 3800×3300 x3600 | |
| Overall weight (approx.) | kg | 2600 | 3500 | 3200 | 3000 | 5000 | 11000 |
PROCESSING WORKPIECE
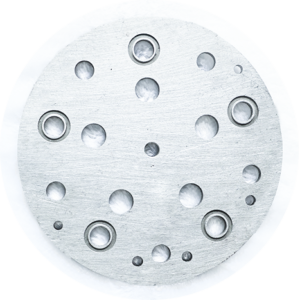
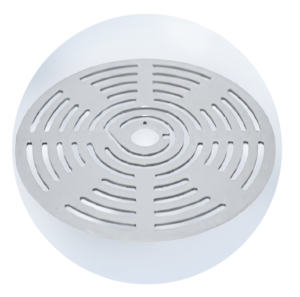
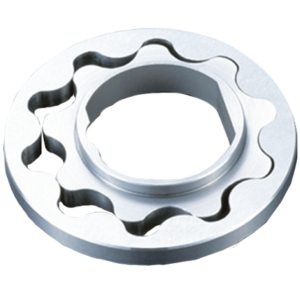
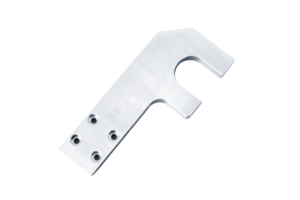
The device can be processed workpiece, including glass, ceramic pieces, sapphire, bearings, valves, carbide inserts, seals, oil pump blades, piston rings, such as:
